
Colorful Roasted Cauliflower

Wondering what to do with cauliflower? This colorful roasted cauliflower is quick to prepare and full of lemony flavor. It’s visually appealing and is the perfect accompaniment to any fish, chicken, or meat dish.
For some reason, many people have either a love or hate relationship with cauliflower. We wanted to change that, so PMR has transformed this somewhat boring veggie into a bright, roasted, lemony jewel of a side dish. Read more about this recipe in our blog review.
Sign up for a free subscription to our monthly newsletter and access to exclusive content.
To browse some of our favorite kitchen essentials, gadgets, and pantry items, visit our Recommended Products page.
RECIPE
(Check out our Step by Step Instructions below the recipe card.)
Recipe updated as of 3/21/22

COLORFUL ROASTED CAULIFLOWER
Ingredients
Instructions
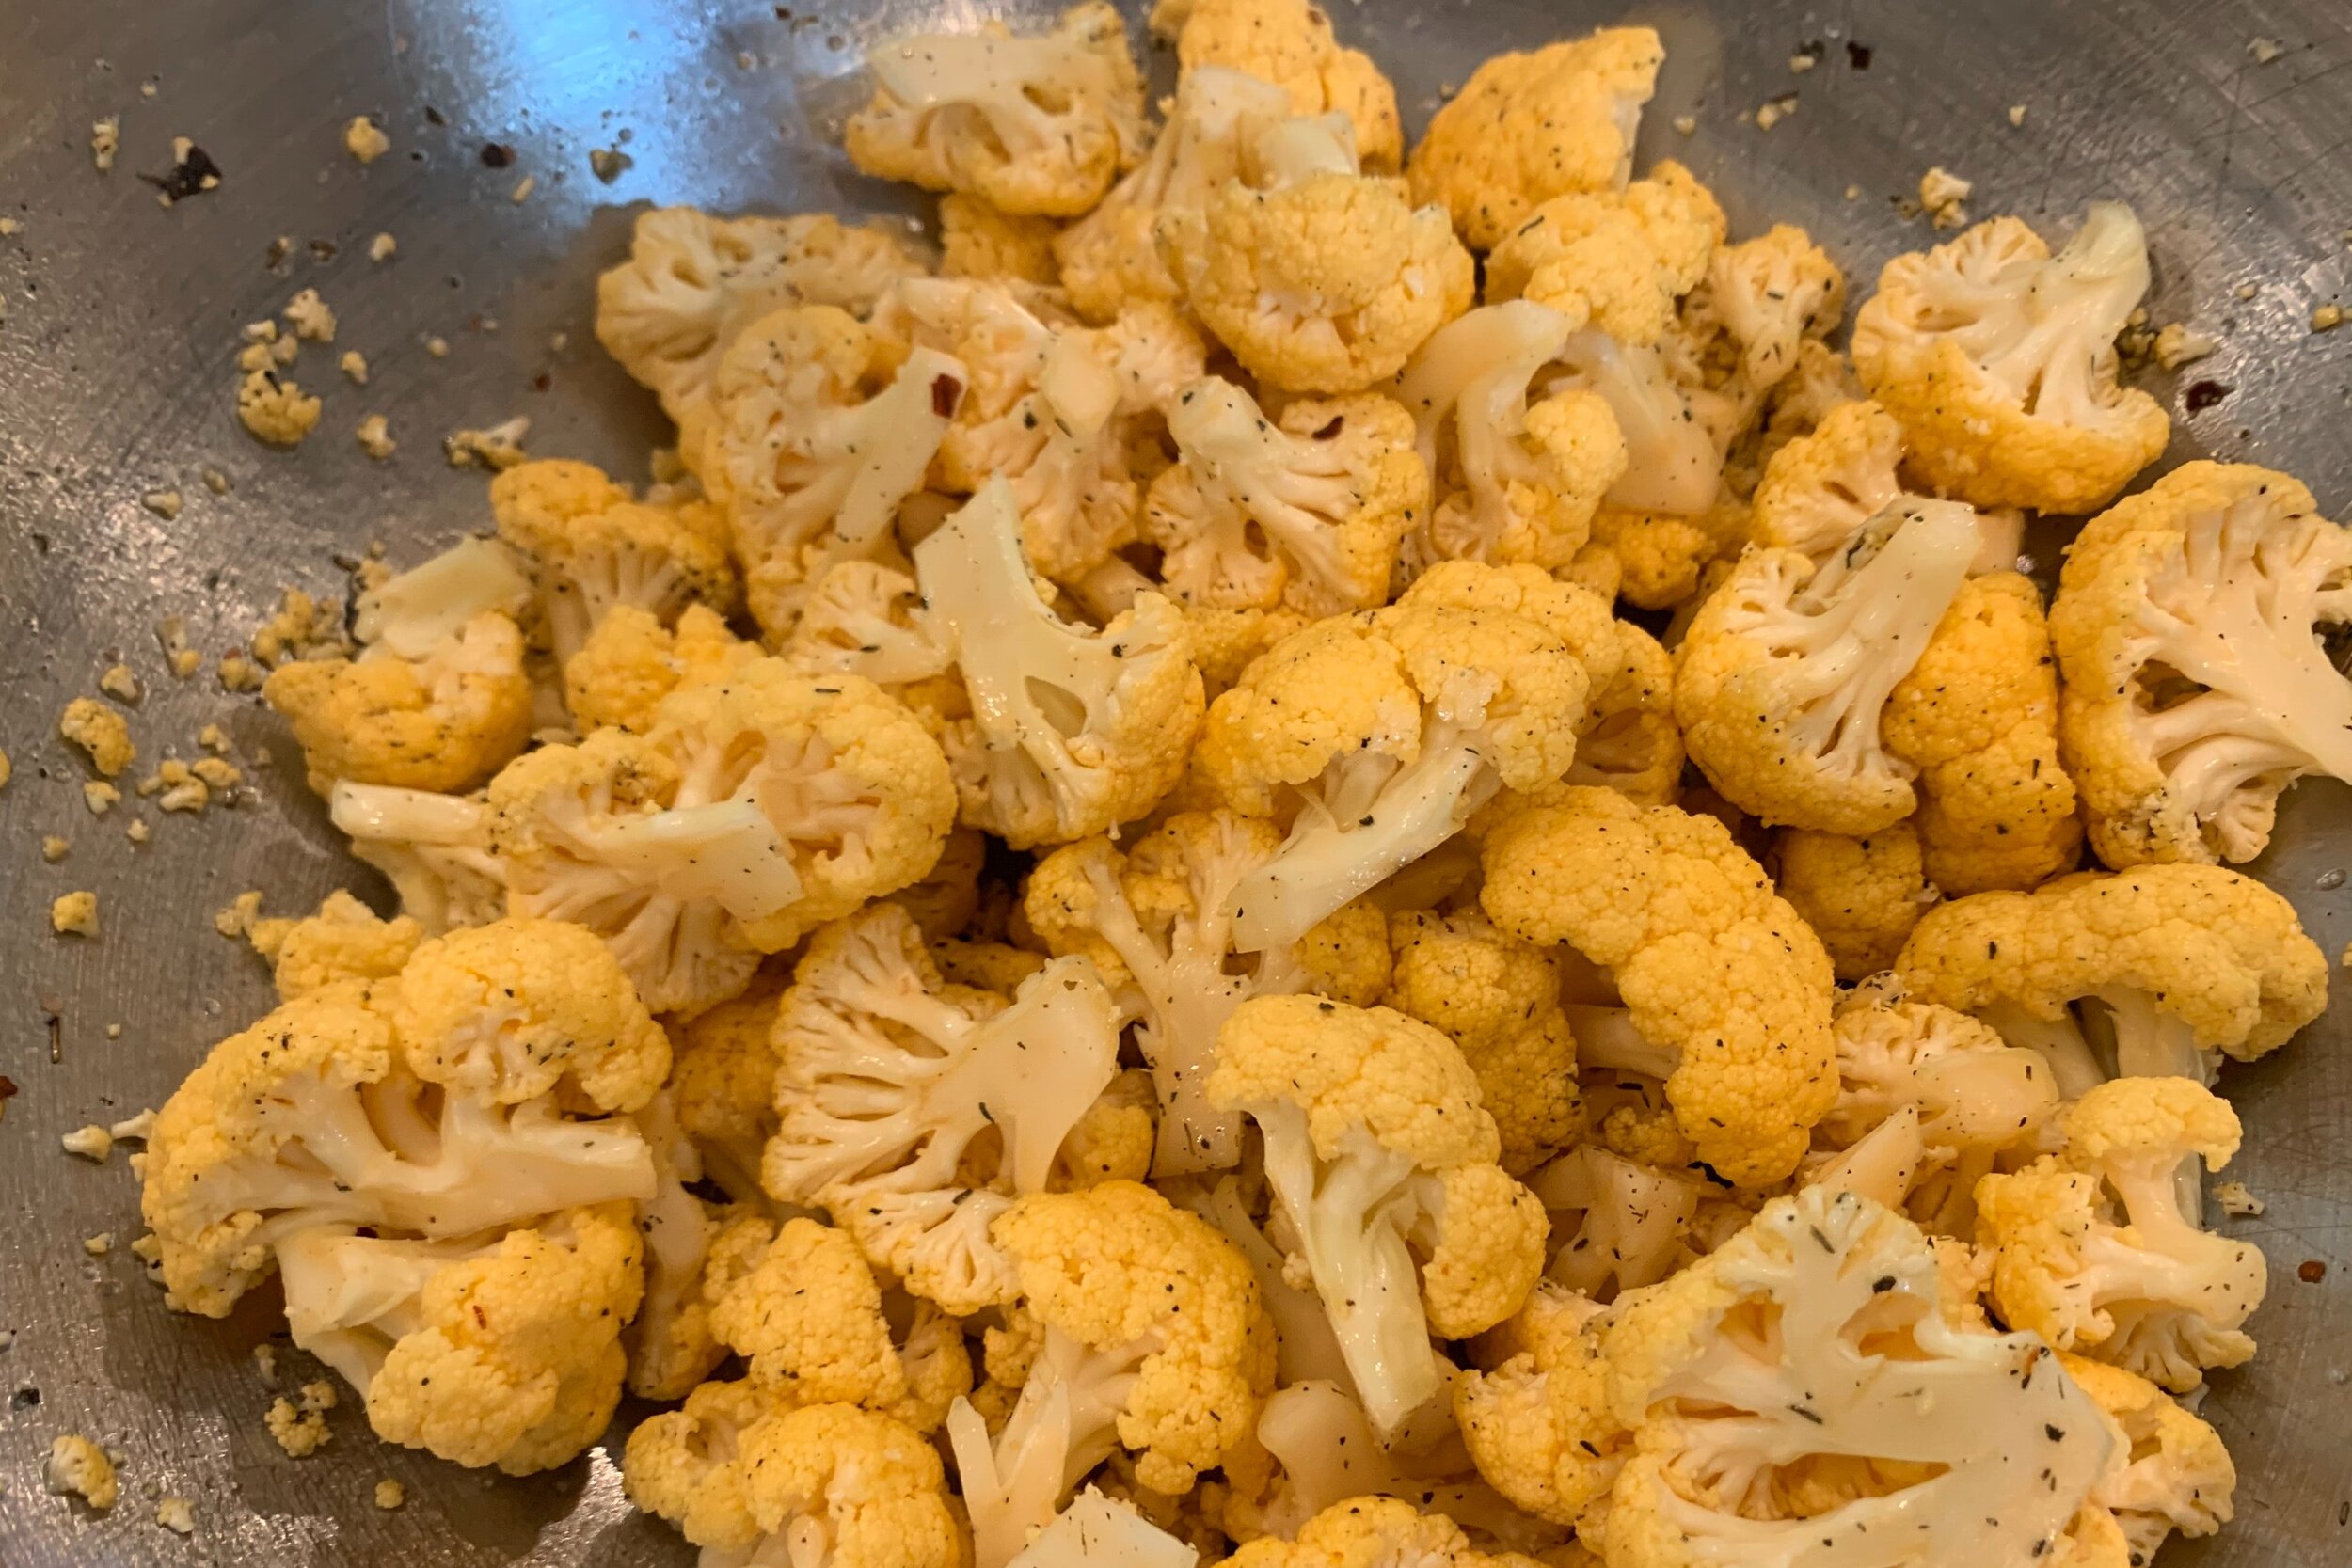
- Preheat Convection Oven to 375°F on "Convection Roast" setting. If using a Regular Oven, preheat to 400°F (see Notes section below for details). In a large mixing bowl, add extra virgin olive oil, crushed red pepper, Herbes de Provence, salt and black pepper (increase to ½ tsp salt and ¼ tsp pepper, depending on taste). Stir to combine and set aside.
- On a large cutting board, chop 1 head of orange cauliflower into small florets (about 1 ½ inches in diameter).
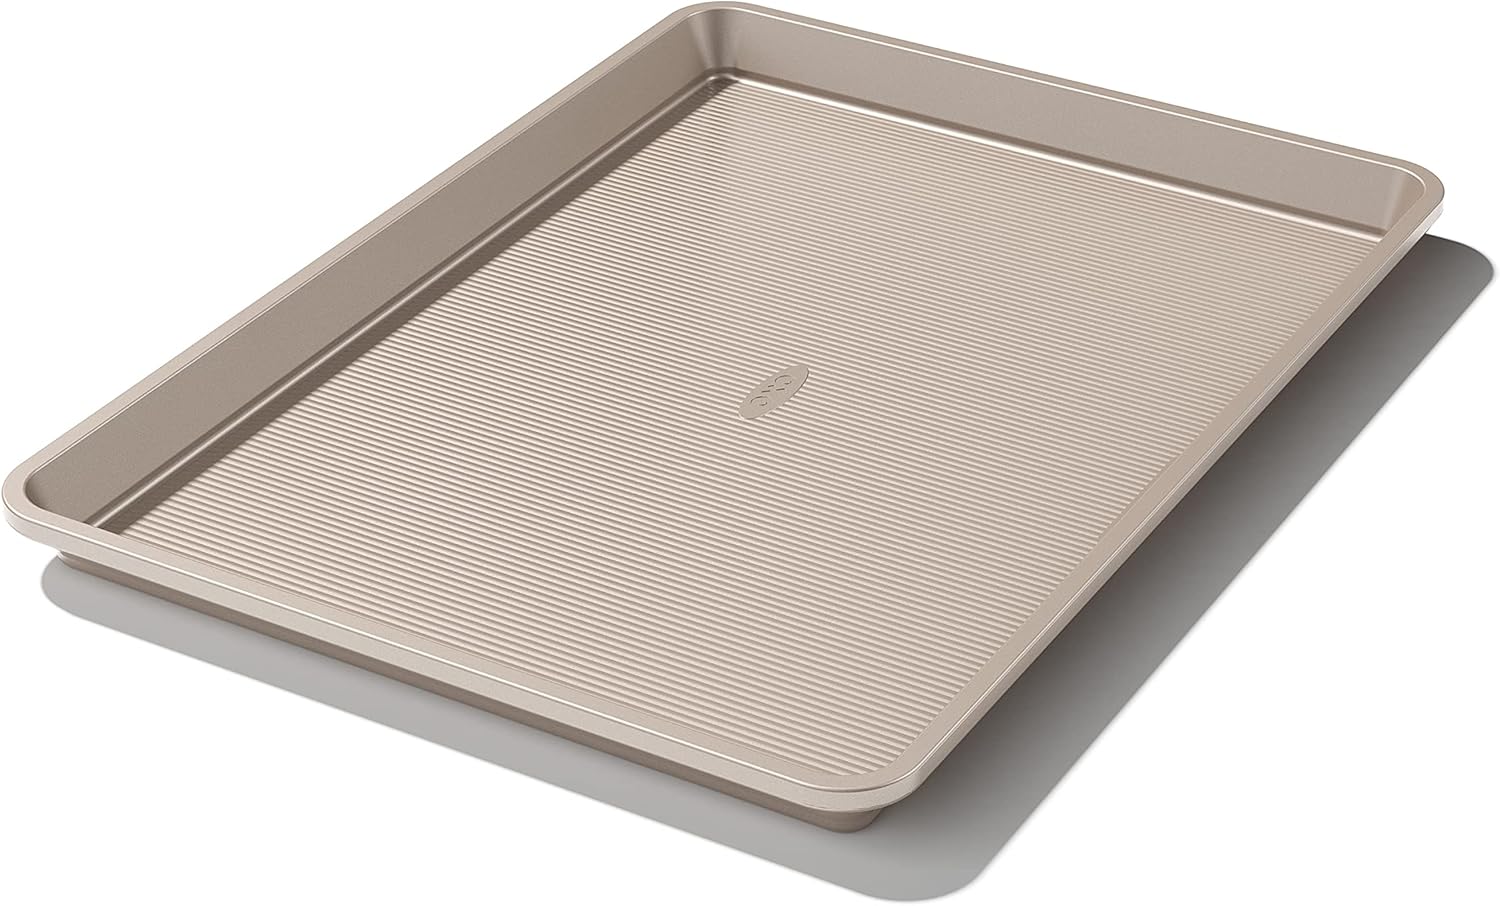
- Add cauliflower florets to the large mixing bowl and toss thoroughly with the olive oil mixture until evenly coated. (For make ahead preparation, see Notes section #1 for details.) Dump cauliflower onto an aluminum foil lined baking sheet and spread out to evenly roast. Roast in Convection Oven for 15 minutes until lightly browned on edges (or 20-30 minutes in a Regular Oven, tossing every 10 minutes, if needed).
- While your cauliflower is roasting, roughly chop fresh parsley with a sharp knife and set aside.
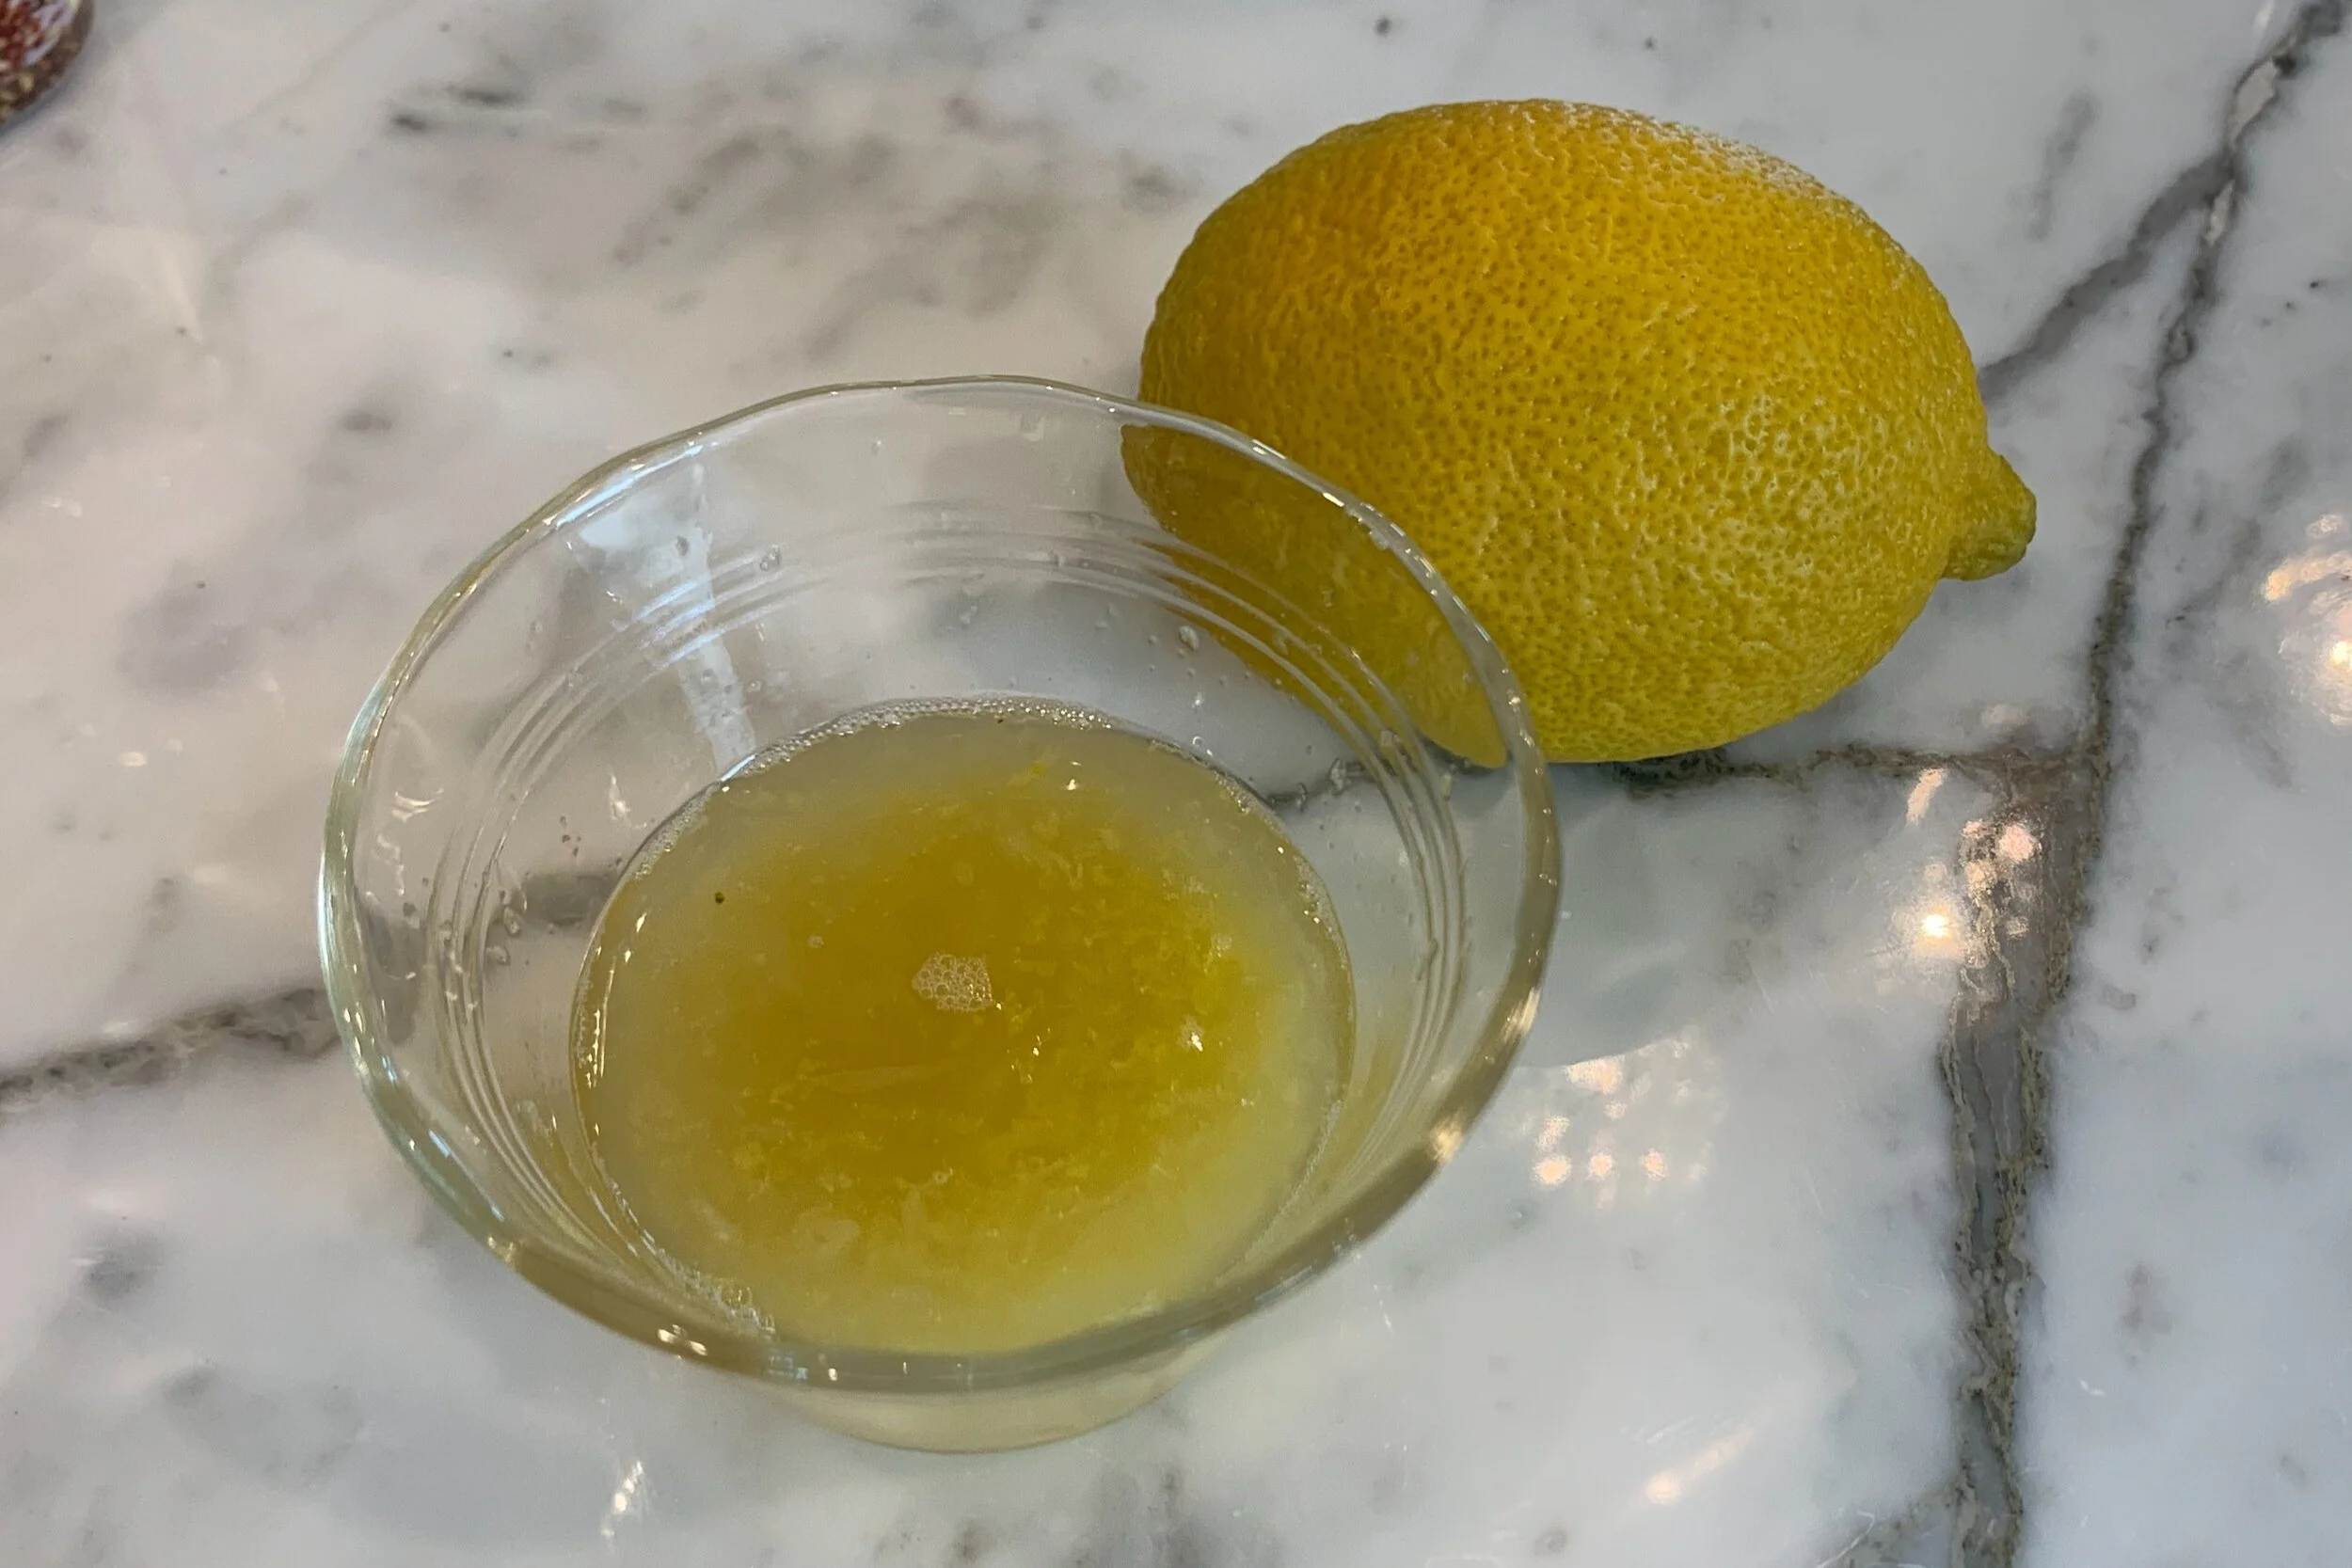
- Zest and juice one lemon directly into a small glass bowl and set aside.
- Test cauliflower for doneness (see Notes section #3 for details).
- Immediately after removing from oven, evenly pour lemon zest and juice mixture all over the HOT cauliflower while still on the baking sheet. Toss a few times with a spatula and sprinkle with chopped parsley. Toss gently again to evenly coat and serve.
Notes
- Great partial make ahead recipe. Prep in advance through tossing cauliflower in olive oil mixture in Step 3 and then dump coated florets into a large freezer safe gallon Ziploc storage bag. Express all the air, seal, and refrigerate overnight, or until ready to roast, as noted at the end of Step 3.
- Convection Oven vs. Regular Oven? Using a convection oven is our preferred method of roasting. It requires less heat, cooks more evenly, and take a shorter time to cook. No need to worry if you don't have one. This recipe works just fine in either oven. Roasting in a regular oven just needs more attention, heat, and time to evenly roast your veggies.
- Test cauliflower for doneness by sticking a fork or sharp knife directly into the stalk. The stalks should be tender, but not mushy. If it needs more, pop it back in the oven in 5 minute increments, until done.
- For an extra punch of flavor, sprinkle with a little freshly grated Parmigiano Reggiano cheese at the end and serve.


Nutrition Facts
Calories
78.76Fat (grams)
5.73Sat. Fat (grams)
0.80Carbs (grams)
6.20Fiber (grams)
3.48Net carbs
2.72Sugar (grams)
3.00Protein (grams)
2.67Sodium (milligrams)
119.25Cholesterol (grams)
0.00Nutritional information provided is strictly an estimate and will vary based on ingredient brands and cooking methods.
Step by Step Instructions

PREPARATION
Organize all your tools and ingredients before you begin. Getting all your ingredients in one place at the beginning will shorten your work time.

STEP 1
Preheat your convection oven to 375°F on the Convection Roast setting (see Notes section below for details on why this is our preferred method of roasting). If you don’t have a convection oven, then preheat your regular oven to 400°F.
In a large mixing bowl, add 1 ½ tablespoons extra virgin olive oil, ⅛ teaspoon crushed red pepper, ¼ teaspoon Herbes de Provence, ¼ teaspoon Himalayan salt, and ⅛ teaspoon ground black pepper (increase to ½ tsp salt and ¼ tsp pepper, depending on taste). Stir to combine and set aside.

STEP 2
On a large cutting board, chop 1 head of orange cauliflower into small florets (floret tops into about 1 ½ inches in diameter).
Note: Feel free to use any color of cauliflower available. Whether you use white, orange, green, or purple, this recipe can be prepared in the same manner. We like to vary the color depending on our main dish and the rest of our menu.
STEP 3
Add cauliflower florets to the olive oil mixture in the large mixing bowl and toss thoroughly until evenly coated.
Note: For make ahead preparation of this recipe, see below for next steps.
Time to roast! Dump cauliflower onto an aluminum foil lined baking sheet pan and spread them out to evenly roast. Roast in the oven for 15 minutes until lightly browned on edges (or 20-30 minutes in a Regular Oven, tossing every 10 minutes).
Make Ahead Preparation: Dump coated florets into a large freezer safe gallon Ziploc storage bag. Express all the air, seal, and spread out the florets so they are flat (it will take up less room in your fridge). Refrigerate overnight, or until ready to use.

STEP 4
While your cauliflower is roasting, roughly chop 2 tablespoons fresh Italian flat leaf parsley with a sharp knife and set aside.
Make Ahead Preparation: Place in small plastic bag and refrigerate until ready to use.
STEP 5
Zest and juice one large lemon directly into a small glass bowl (approximately 1-2 teaspoons of zest and 3-4 tablespoons of juice) and set aside.
Make Ahead Preparation: Cover bowl with plastic wrap (this one works great!) and refrigerate until ready to use. When you are ready to cook, roast cauliflower according to Step 3 instructions and then continue with steps below.

STEP 6
Test cauliflower for doneness by sticking a fork or sharp knife directly into the stalk. The stalks should be tender, but not mushy. If it’s tender enough to your liking, then remove from oven and quickly move on to the next step. If it needs more, pop it back in the oven in 5 minute increments, until done.

STEP 7
Immediately after removing from the oven, evenly pour the lemon zest and juice mixture all over the HOT cauliflower (while still on the baking sheet). With a spatula, toss a few times. Then sprinkle with the chopped parsley and toss gently a few more times to evenly coat.
Your colorful roasted cauliflower is ready to serve!

Serving Suggestion
This lemony cauliflower makes a beautiful and healthy side dish. It’s the perfect complement to the rest of this meal.
Check out the other recipes below that completed this colorful main course.
Fresh Roasted Red Pepper Sauce
Asparagus with Lemon & Herbed Butter Sauce (coming soon)
Notes:
This is a great partial make ahead recipe. Just review the “Make Ahead Preparation” in Steps 3-5. Everything can be prepped in advanced the night before or earlier in the day. When ready to bake, just dump the prepared cauliflower directly onto your baking sheet and bake. It’s the perfect side dish for a weeknight meal or when you are entertaining guests.
Convection Oven vs. Regular Oven: If you don’t have a convection oven, no need to worry. This recipe bakes up just fine in either oven. However, after testing both methods, the PMR Kitchens prefer to use the convection oven on “convection roast setting.”
a. Convection Oven evenly roasts the veggies in a faster time, without having to turn them, and uses a lower temperature to cook. 375°F on the Convection Roast setting for about 15 minutes (depending on your oven and the size of your florets).
b. Conventional Oven takes longer to cook (depending on your oven) and will require turning your veggies every 10 minutes or so. 400°F on Bake setting for approximately 25-30 minutes (tossing every 10 minutes or so to prevent sticking).
For an extra punch of flavor, sprinkle with a little freshly grated Parmigiano Reggiano cheese at the end and serve.
Blog Comments & Tips
This is a great weeknight recipe and a perfect side dish for entertaining!
For some reason, many people either have a love or hate relationship with cauliflower. It has a reputation of being really bland in taste and having a strong smell while being cooked. We wanted to change that perception.
So we transformed this somewhat boring veggie into a bright, roasted, lemony jewel of a side dish. A sheet pan and a few simple ingredients make it extra tasty, and the orange cauliflower makes it visually appealing and the perfect accompaniment to any fish, chicken, or meat dish. It’s quick enough to make for a weeknight meal, but it’s a great make ahead recipe for company, too.
The end result is a mild, but flavorful veggie that even your kids will like. When it’s roasted, the strong smell seems to dissipate, so their should be no complaints from the family, and it’s not overpowering in flavor, so you can pair it with any protein. If you want a hint of more flavor, sprinkle lightly with a little freshly grated Parmesan Cheese…delicious!
Cauliflower is available in so many beautiful colors (white, orange, green, and purple). If it’s available in your area, we encourage you to try the other colors. It’s kind of fun to experiment and if your kids are not into veggies, the fun colors might even convince your kids to give it a try.
This recipe and basic cooking method will likely become a standard in your house. We roast most of our vegetables now and just season them up a little differently every time. Check out some of our other healthy vegetable recipes on Pimp My Recipe for broccoli, Brussels sprouts, beets, red peppers, and potatoes.
Enjoy and let us know what you think!
Mich
Footnote: Remember cooking time will vary depending on your oven and baking sheet, so keep a watchful eye on your veggies the first time you try this recipe.

Every editorial product is independently selected. We may be compensated or receive an affiliate commission if you purchase products via our links. As Amazon Associates, we earn from qualifying purchases.